The story
From a broken whistle
A longer account of the choices, failures and small solutions that shaped each whistle from the first broken head to the finished instrument.
Back to homepageA longer account of the choices, failures and small solutions that shaped each whistle from the first broken head to the finished instrument.
Back to homepageI return to Cork every year that I can — friends host me, and the city always gives me the same sense of belonging to something I had learned to love from afar, listening to The Pogues and The Dubliners since 2011, long before I truly approached Irish traditional music. I had always played Generation whistles, honest and affordable instruments almost everyone starts with. At a certain point I needed something more serious. One afternoon in early summer 2025, the idea came to me to buy a better whistle, so I went into a local music shop and bought my first mid-range tin whistle.

After just six months of heavy use, the head began to wobble. Online I discovered I was not alone: the defect was common for that model. The obvious fix was a wrap of Teflon tape, but many warned that the extra thickness could crack an already fragile head. I had a choice: live with a problem that would worsen, or attempt a repair that could ruin the whistle. I chose a third way. Not to repair it. To rebuild it from scratch.
I asked for help from a friend who is a genius with electronics and 3D printers. With him at my side for printing feasibility, I learned 3D modeling from zero — not out of curiosity, but because I needed to draw exactly the head I had in mind. The first prints were embarrassing: fipples that didn’t whistle at all, coarse geometry, surfaces that needed hours of hand finishing. We printed dozens of versions; every failure taught us one more detail. Eventually the whistle spoke. Then the tone arrived. Only when the sound was right did I permit myself to think about aesthetics.
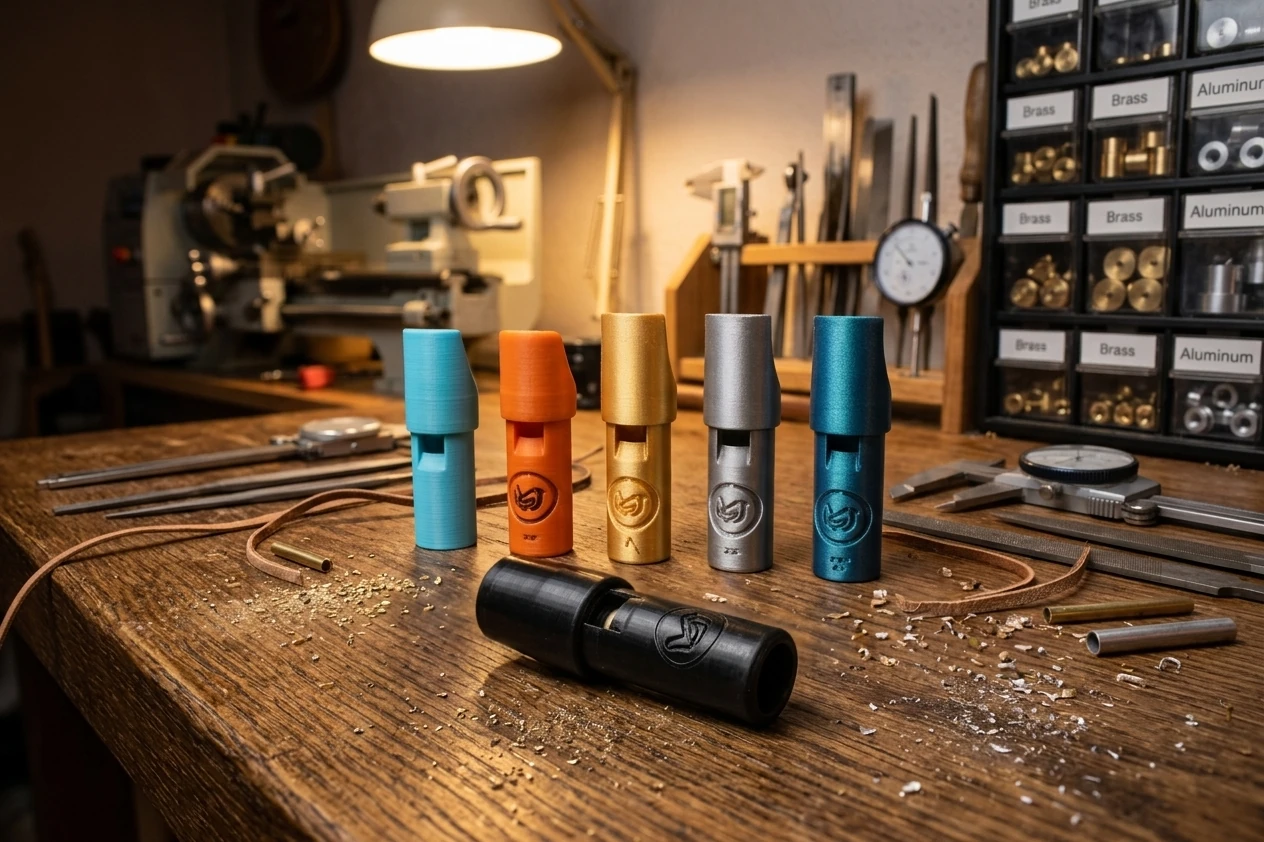
At that point I asked myself what I truly wanted: if I could design the head, why not the whole instrument? I began studying the acoustics of wind instruments, the behavior of the air column, brass thickness and alloys — self-taught, with the right sources, without shortcuts. The result was a first version of the bore in brass. Again, I iterated until I had the tools and the finishes to match the concept in my head. The whistle had to sound good and be built well down to every millimeter.
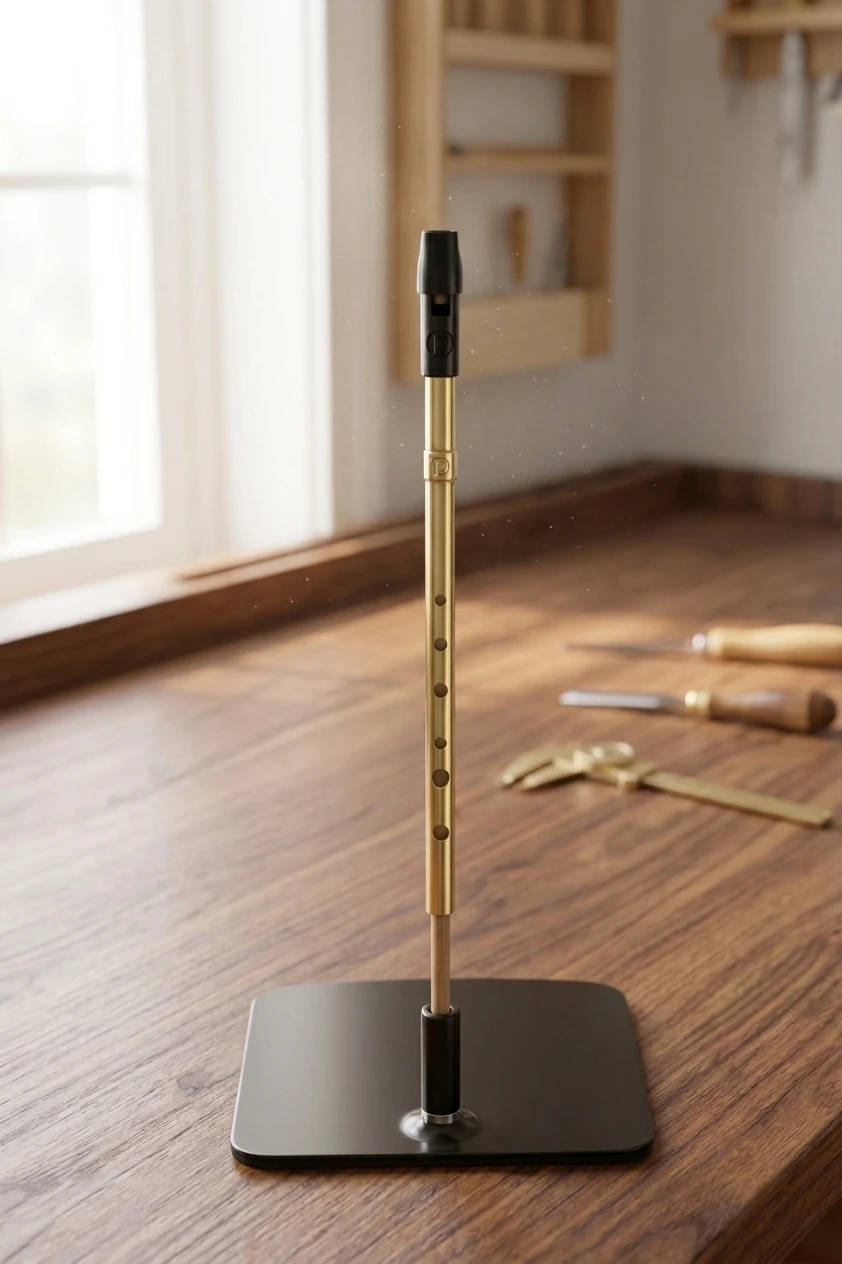
When the project took shape, I invested in my own 3D printer — not to replace the work I had done with my friend, but to speed it up: prototyping in the evening after work, testing an idea the next morning, without waiting. I learned what makes a print truly solid and reliable versus what only looks good. With that printer I also designed and built custom tools and jigs needed to make this whistle repeatable — not a one-off born of chance, but a method.
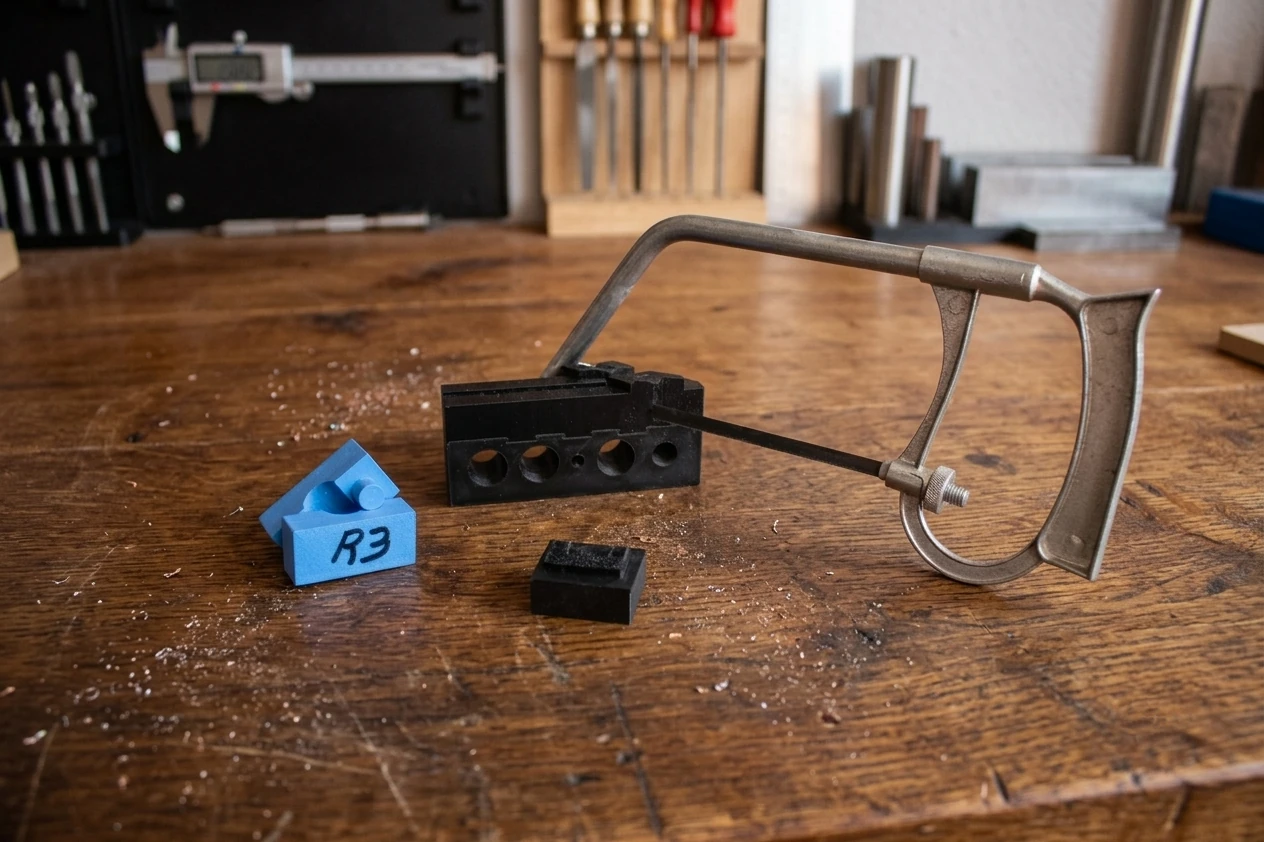
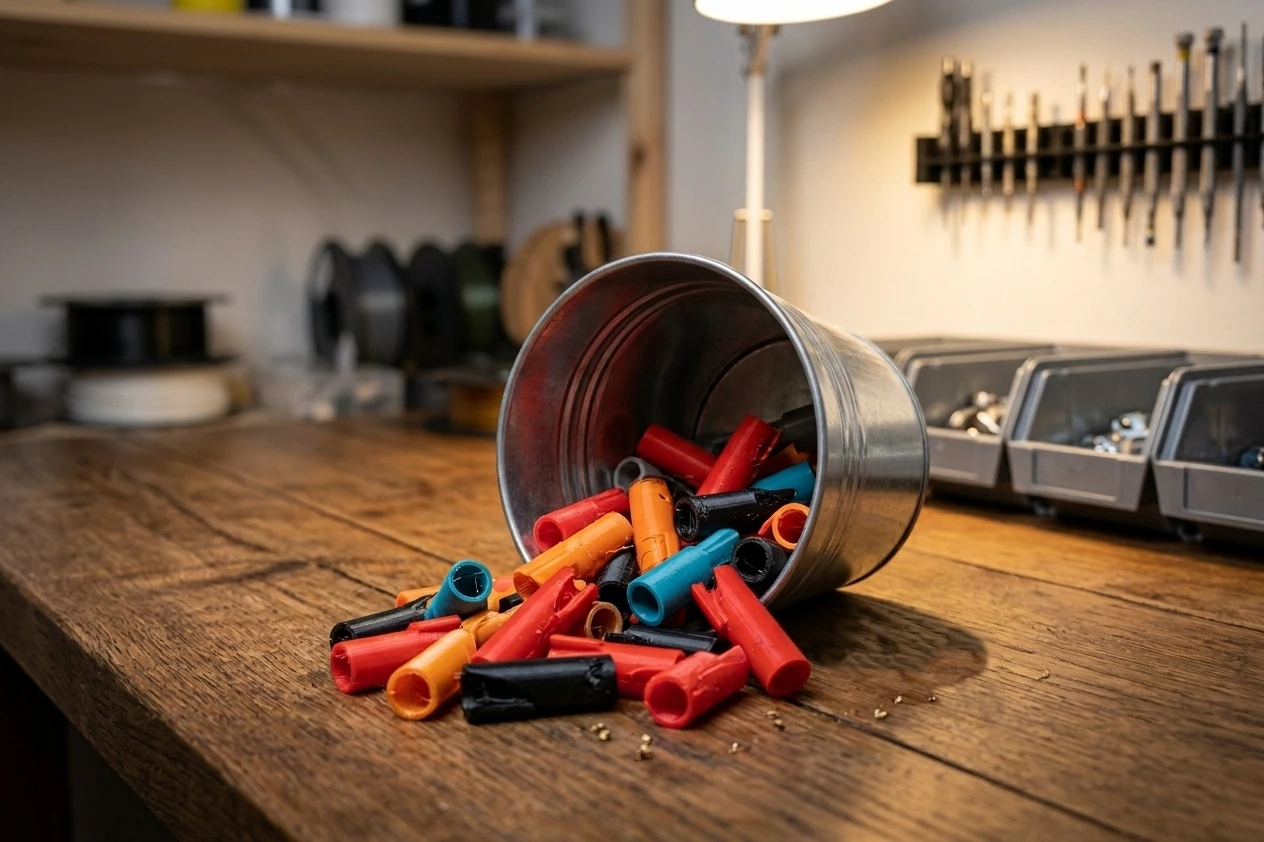
The final stages were the slowest. I experimented with engraving, sanding and soldering techniques, searching each time for the right balance between precision and appearance. In more than a year there was not a single day without failure. I filled buckets with discarded prints and set aside dozens of prototypes. I never thought about stopping, not because it was easy, but because each failure still gave me one more clue for the next attempt.
Today, when I hold one of these whistles, I think back to that afternoon in Cork, to the wobbling head, and to the choice not to settle. What began as a personal fix became an instrument conceived, tested and built from scratch, one piece at a time — with the same care I would give to something I intend to play every day.